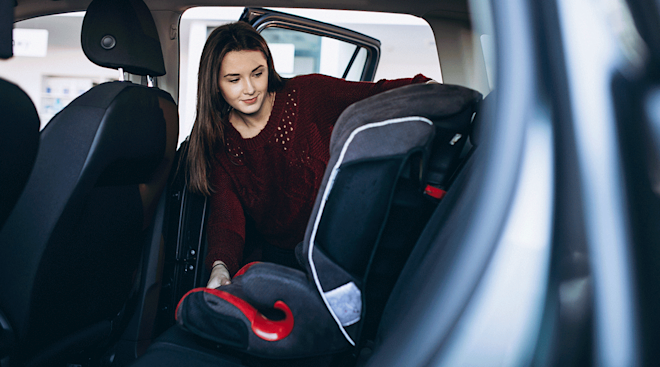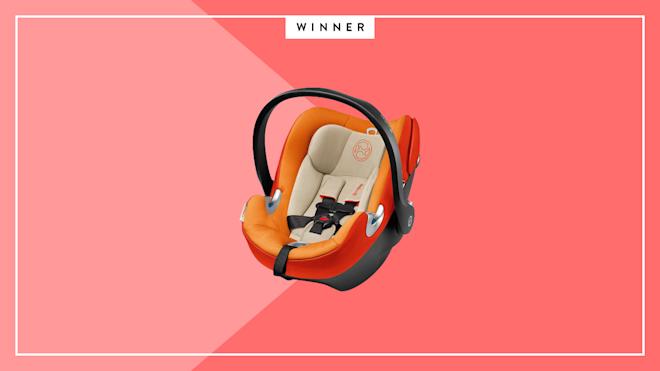


How to Install a Car Seat Safely
If you’re nearing the end of your pregnancy, you probably still have a mile-long list of things to do. But a word to the wise: Don’t save the car seat installation for the last minute. After all, trying to properly install a car seat while catching your breath and trying not to pee isn’t fun. Plus, you may want to leave time to have your installed car seat inspected (for free!) by a technician from the National Child Passenger Safety Certification Training Program to make sure everything’s lined up correctly and ready to transport baby safely home.
Before you begin your car seat installation, give your car owner’s manual and the car seat instructions a read. These guides give you a good sense of where to install the car seat, whether the seat is a good match for your vehicle and whether your car has any quirks you need to be aware of, says Libby Nye, a certified child passenger safety technician with Saving Loudoun’s Littles, a nonprofit dedicated to car seat safety. “Sometimes there are incompatibilities that mean a seat and vehicle combination just won’t work,” she says. If you didn’t check your vehicle manual before buying a car seat, it’s at least better to know there’s a compatibility issue before you spend hours attempting to install the thing in vain. Assuming your infant seat and vehicle are a good match, here’s how to skip the frustration and nail the proper car seat installation with ease.
You probably know by now that baby should always be placed in the back seat—but even here there is a sweet spot that’s considered safest. A 2008 study revealed that the middle of the back seat is 43 percent safer for baby than the two outboard seats (the ones closest to the vehicle’s doors). So if you’re hauling double or even triple the precious cargo, always put your youngest, most fragile rider in the middle.
That said, there are a few instances where baby isn’t better off in the middle:
• If you want to use the LATCH system. LATCH, which stands for Lower Anchors and Tethers for Children, is a car seat installation system that relies on anchors and tethers that are built into the car itself. While some vehicle models have dedicated lower anchors (metal bars that LATCH-compatible car seats can connect to) for the middle seat, most only come with one set in each outboard seat—and it’s not safe to “borrow” a lower anchor from the two outboard seats. “One of the issues I see most often is people using the lower anchors in the center position when they’re not allowed to be used for that position,” Nye says. “Most of the time, they’re only safe to be used in the outboard positions or if there are dedicated extra anchors for the middle seat.” If you’re a LATCH devotee, you’ll probably need to install the car seat on one of the outboard seats. But don’t feel like you have to use LATCH. “The lower anchors are convenient, but despite what people often think, they aren’t any safer than the seatbelt as a method of car seat installation,” Nye says.
• If your car’s manual advises against it. Some cars just aren’t designed to accommodate a car seat in the middle of the back seat. Small, narrow spaces, uneven seat surfaces and a lack of available LATCH anchors or a seat belt are several reasons why manufacturers suggest you avoid placing a car seat in the center.
Bottom line: The safest position for baby’s car seat is wherever you can install it snugly, either with the LATCH system or seat belt, according to the American Academy of Pediatrics (AAP)—and that may be in the outboard seats instead of the middle.
LATCH was designed to make car seat installation easier and is required in all car seats and most vehicles manufactured after 2002. As the name implies, the system is made up of lower anchors, which are the metal U-shaped bars at the base of the vehicle’s seat, and a tether, which is a strap that’s usually found at or near the top of the car seat and connects to the vehicle’s tether anchor. In most cars, the tether anchors are located on the back of the vehicle seat or on the ceiling.
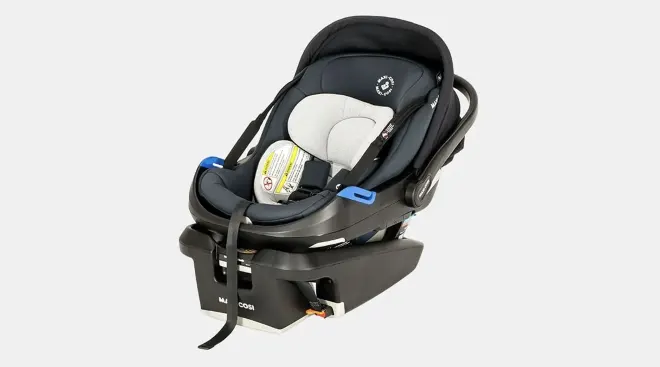
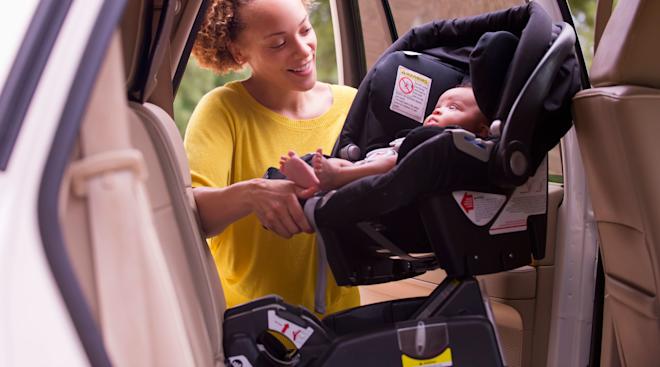
How to install an infant car seat base using LATCH
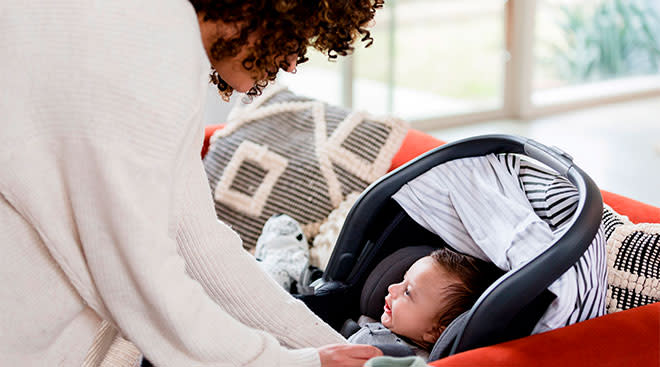
Baby’s first car seat will likely be an infant seat with a detachable base that stays in the car at all times. If your family owns two cars, it’s a good idea to add a second seat base to your baby registry: Installing a car seat base in each car saves you the hassle of moving one base back and forth between cars every time you and baby want to go for a ride. Here’s how to install a car seat base using the LATCH system:
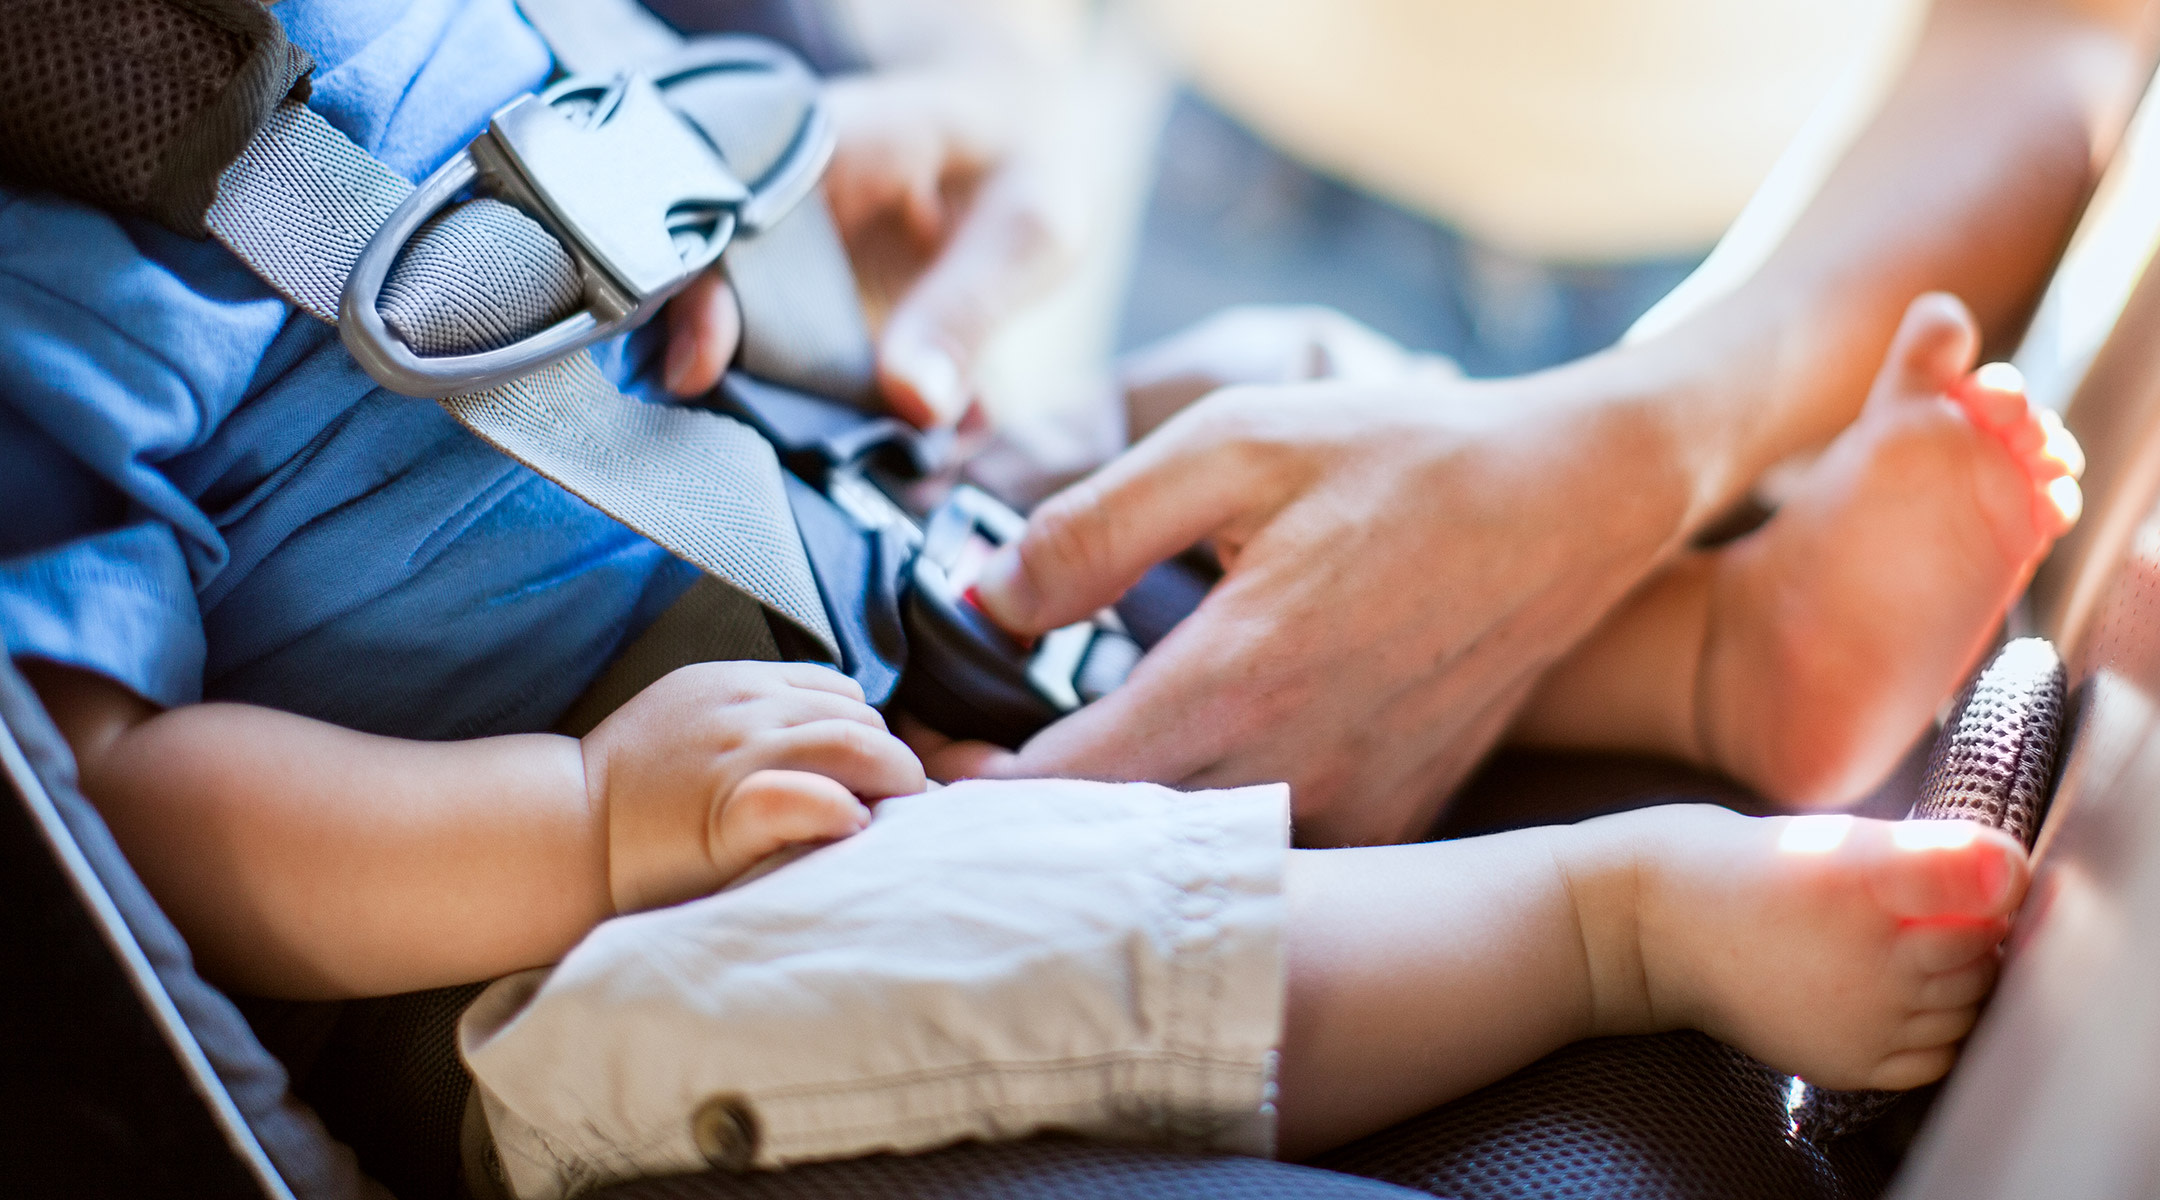
• Step 1: Remove the bucket seat from the base and carefully inspect the base for any defects. Look for cracks, loose parts and defects in the belts and clips.
• Step 2: Position the car seat base flat on the vehicle’s seat. The car seat’s LATCH clips should be facing the back of the vehicle’s seat where the lower anchors are located.
• Step 3: Visually inspect the car seat’s belt and LATCH clips to ensure there are no tangles or twists.
• Step 4: Attach the LATCH clip on one side of the base to the corresponding lower anchor of the vehicle’s seat. Then attach the LATCH clip on the other side of the base to its corresponding lower anchor.
• **Step 5:**Tighten the base—most rear-facing car seat bases have a belt you’ll need to pull in order to do this. Press your knee into the base or kneel on top of the base as you pull the belt as tight as you can. This will compress air from the seat cushion, allowing you to get the most snug fit possible.
• Step 6: Make sure the car seat’s angle is correct: Rear-facing seats should recline at a 30- to 45-degree angle. Having trouble? Try this trick: Place a pool noodle or rolled-up towel against the bottom of your vehicle’s back seat to adjust the car seat’s angle.
• Step 7: Perform the “one-inch test.” Wiggle the base from side to side and backward to forward. It shouldn’t move more than one inch in any direction. If it does, it’s not installed tightly enough. Note that this test doesn’t apply to up-and-down movement. Manufacturers don’t recommend using a tether with a rear-facing car seat, so it’s okay for the base to move up and down, just not side to side or back and forth.
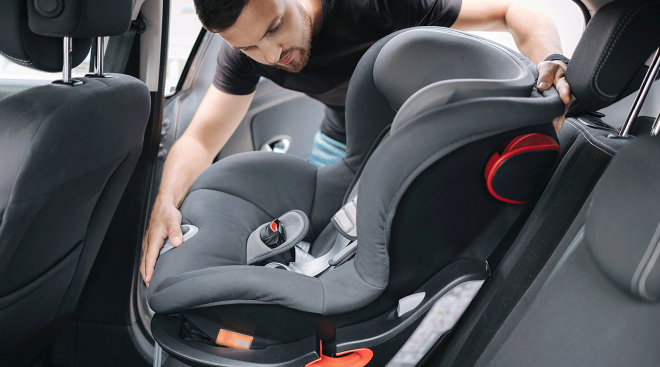
How to install a rear-facing convertible car seat using LATCH
The AAP recommends keeping children rear-facing until at least age 2, but baby won’t fit in her infant car seat for nearly that long. Which means you’ll need to purchase a second car seat solution: a convertible car seat, which allows baby to ride rear-facing or forward-facing and can be used for several years to come. Even better: These seats are considered to be safer for baby’s head and neck than infant car seats. (If you want to start using a convertible car seat from the get-go, many offer newborn inserts.) Here’s how to tackle a rear-facing convertible car seat installation:
• Step 1: Carefully inspect the convertible car seat for any defects. Look for cracks, loose parts and defects in the belts and clips.
• Step 2: Because convertible car seats can be used either forward- or rear-facing, they have two entirely different belt paths for the LATCH clips. Make sure the car seat’s belt and LATCH clips are in the rear-facing belt path. If they aren’t in this position, consult your car seat manual, which will show you how to properly thread the attachments through the rear-facing belt path.
• Step 3: Visually inspect the belt and LATCH clips to ensure there are no tangles or twists in the belts.
• Step 4: Attach the LATCH clip on one side of the base to the corresponding lower anchor of the vehicle’s seat; then do the same for the other side.
• Step 5: Pull the strap on the LATCH attachment to tighten the seat as much as possible.
• Step 6: Make sure the car seat’s angle is correct. Again, rear-facing seats should recline at a 30- to 45-degree angle.
• Step 7: Perform the “one-inch test.” Remember, because a rear-facing seat shouldn’t be tethered, movement at the back of the seat isn’t a problem—it’s any jiggling from side to side or front to back that’s of concern.
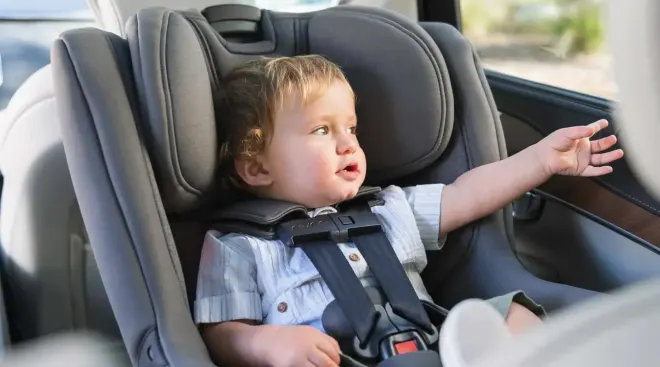
How to install a forward-facing convertible car seat using LATCH
Once your toddler reaches the weight limit for riding backwards in his convertible car seat, you’ll need to reinstall it as a forward-facing seat. Consult the car seat’s manual for the exact weight, but it tends to be around 45 pounds.
The LATCH system also has its own set of weight limits for when lower anchors can be used. In vehicles made after 2014, lower anchors can be used for rear-facing seats as long as the combined weight of your child plus the seat itself is less than 65 pounds. (Don’t feel like doing the math? The car seat should have a sticker that specifies the maximum child weight for lower anchor use.) For forward-facing car seats, the combined weight of the child and car seat should be less than 69 pounds. Once baby reaches the weight limit for LATCH, the seat belt is the safer car seat installation option. “As your child grows, it’s imperative that you follow both your car seat manufacturer and vehicle manufacturer instructions to determine how long you can use LATCH for,” says Nicholas Krukowski, a certified child passenger safety technician and owner of Adiona Safety Seats in Loudoun County, Virginia.
Here’s how to install a front-facing car seat using the LATCH system:
• Step 1: Remove the LATCH attachments from the rear-facing belt path and thread them through the forward-facing belt path. This path is probably behind where baby’s back will rest, rather than under his bottom.
• Step 2: Visually inspect the car seat’s belt and LATCH clips to ensure there are no tangles or twists in the belts.
• Step 3: Attach the LATCH clip on one side of the base to the corresponding lower anchor of the vehicle’s seat; do the same for the other side.
• Step 4: Pull the strap on the LATCH attachment to tighten the seat as much as possible.
• Step 5: Find the tether strap on the top of the car seat and clip it into your vehicle’s tether anchor, usually found on the back of your vehicle’s seat or on the ceiling.
• Step 6: Perform the “one-inch test.” In this case, the test applies to any up-and-down movement (in addition to side to side and front to back), since the car seat should be tethered using the tether clip.
While the LATCH system was invented to limit the hassle of car seat installation, you may not always be able to use LATCH with your car seat or vehicle. This may be the case if:
- You drive an older model car without lower anchors.
- You’re installing the car seat in the middle of the back seat.
- Your child exceeds the recommended weight limit for the LATCH system.
- Your car doesn’t have enough lower anchors for all of your car seats.
If you meet any of these above scenarios, don’t sweat it: Baby can still enjoy a perfectly safe ride. In fact, seat belts can handle higher forces than the lower anchors, according to Alli Taylor, a child passenger safety technician in Northern Virginia. And when it comes down to it, installing a car seat using a seat belt is pretty simple. Use this step-by-step guide:
• Step 1: Stow or securely fasten any LATCH attachments, since they won’t be used. Most car seats provide space for this.
• Step 2: Check your vehicle’s seat belt to find out where it locks—it will either be at the retractor (where the seat belt retracts into the car upon release) or the latch plate (the plastic part where you buckle the belt). If your seat belt doesn’t lock, you’ll need to purchase a locking clip.
• Step 3: Position the car seat flat on the vehicle’s seat, then thread the seat belt through the appropriate belt path (depending on whether you’re installing a forward-facing or rear-facing seat).
• Step 4: Buckle the seat belt and press down or kneel on the car seat to compress the seat cushion as much as possible.
• Step 5: Check that the seat belt has locked properly and that the angle of the car seat is within the proper range (rear-facing seats should recline at 30 to 45 degrees; forward-facing seats should ride upright).
Plus more from The Bump, Car Seat Safety Tips:
Published September 2017
Please note: The Bump and the materials and information it contains are not intended to, and do not constitute, medical or other health advice or diagnosis and should not be used as such. You should always consult with a qualified physician or health professional about your specific circumstances.
Target Baby Registry
Free $100+ Value Welcome KitFree $100+ Value Welcome Kit
15% Completion Discount15% Completion Discount
Free 1-Year ReturnsFree 1-Year Returns
20+ Exclusive 20% Off
Deals For Mom & Baby20+ Exclusive 20% Off Deals For Mom & Baby1:1 Concierge With
Baby Gear Specialists1:1 Concierge With Baby Gear Specialists

*Subject to availability and Retailer's terms.
We earn commissions from these links.