


Stunning Maternity Photoshoot Ideas—and How to Nail Your Pics
Pregnancy is a remarkable time in your life, full of amazing changes and giddy anticipation. After all, you’re growing a brand-new, tiny human whom you can’t wait to meet! One of the best ways to commemorate this special life event? With a maternity photoshoot you can look back on for years to come. Of course, there’s a lot to consider, including timing, where to hold your session, your maternity picture outfit, which photographer to use and more. To help you plan, we’ve gathered up top expert tips for pregnancy photos—plus, inspiring maternity photoshoot ideas to help you find the style you’re looking for.
If you’re looking for unique maternity photoshoot ideas, there’s no shortage out there. Whether you prefer a classic style or are looking for something completely different, here are some maternity picture ideas to get your creative juices flowing.
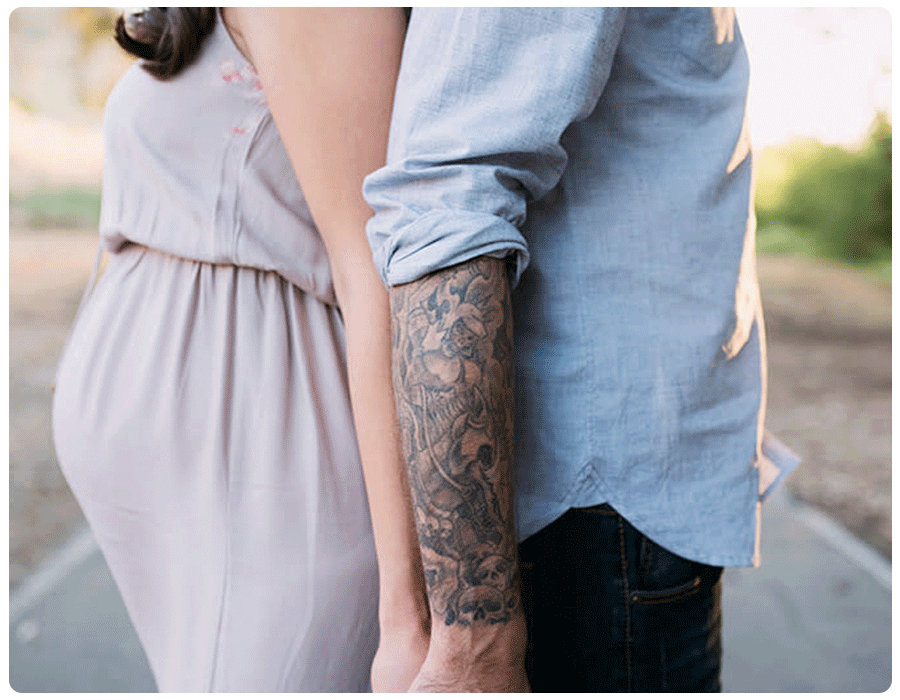
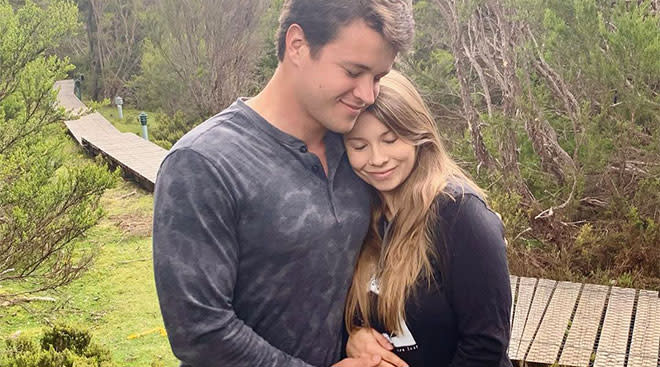
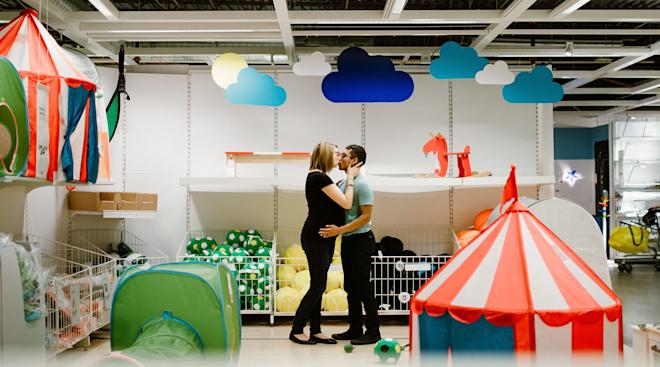
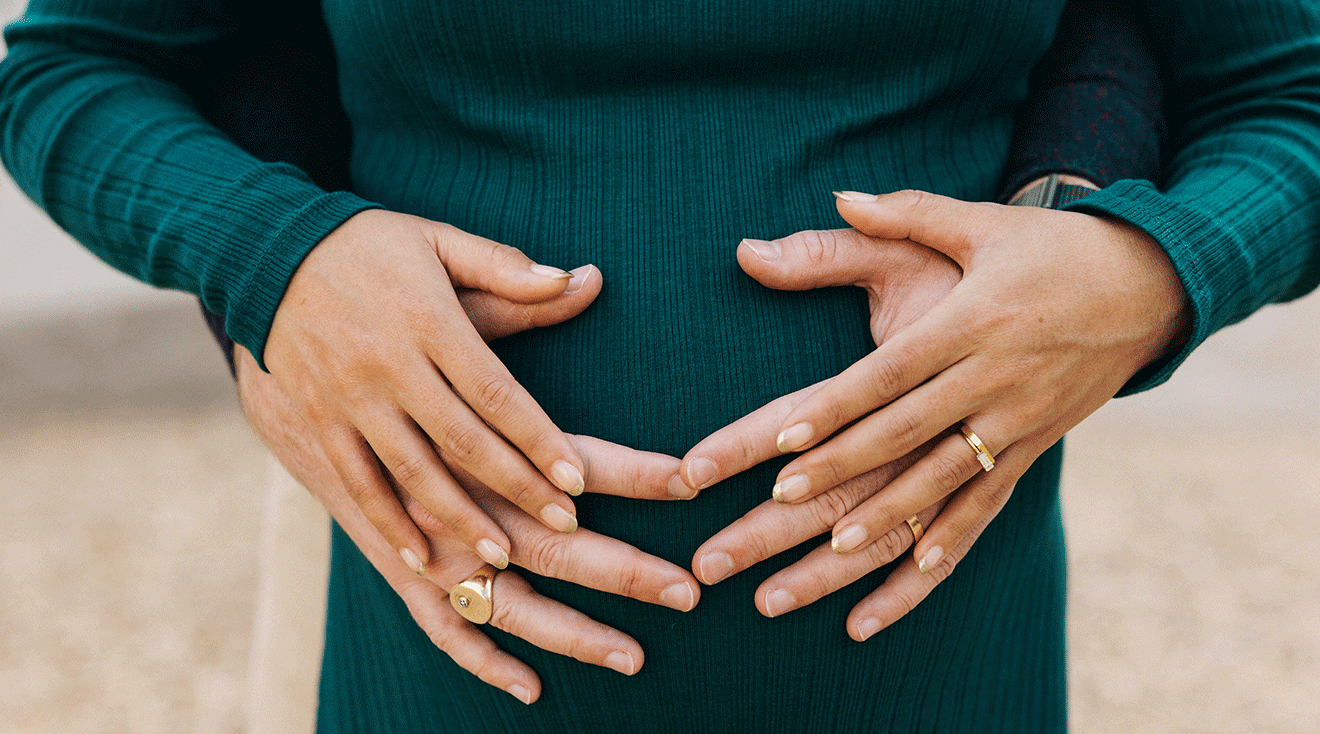
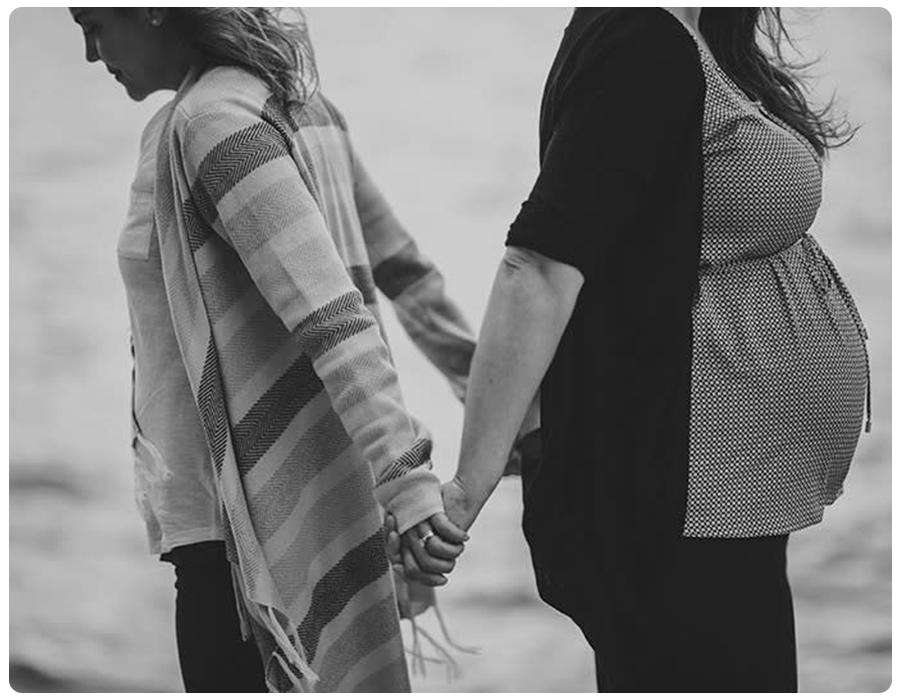
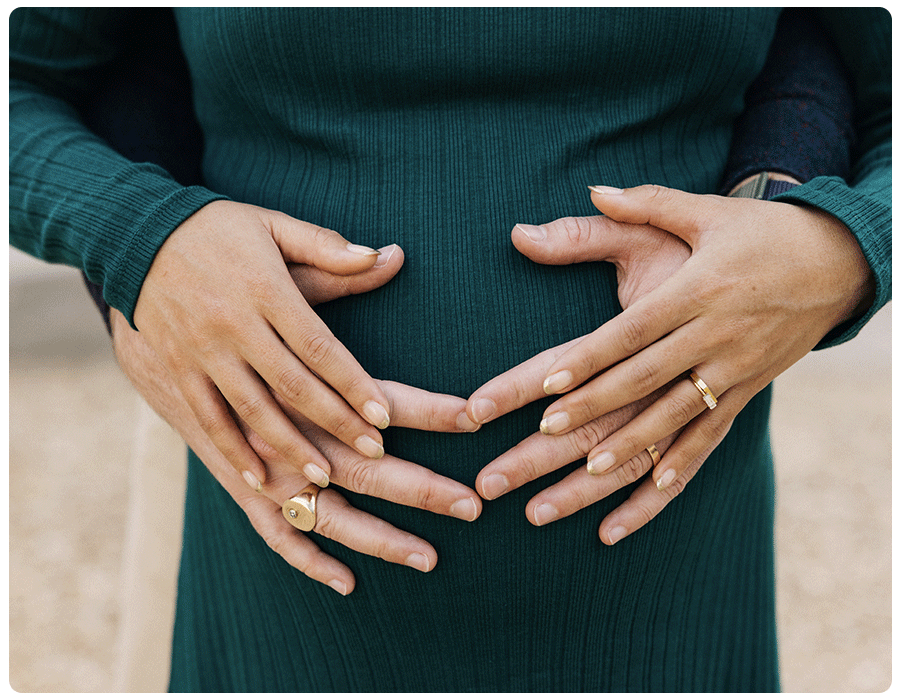
Couple maternity photoshoot ideas
You’re going to want a bunch of full-length photos, but a great couple maternity photoshoot idea is to snag a few close-ups while you’re at it. Focus on your arms and hands entwined in your partner’s—and of course, that beautiful baby bump. “I find couples and family sessions seem to be very popular, as the mothers really want to embrace the addition to their growing family,” says Candice Baker, a family photographer in Denver.

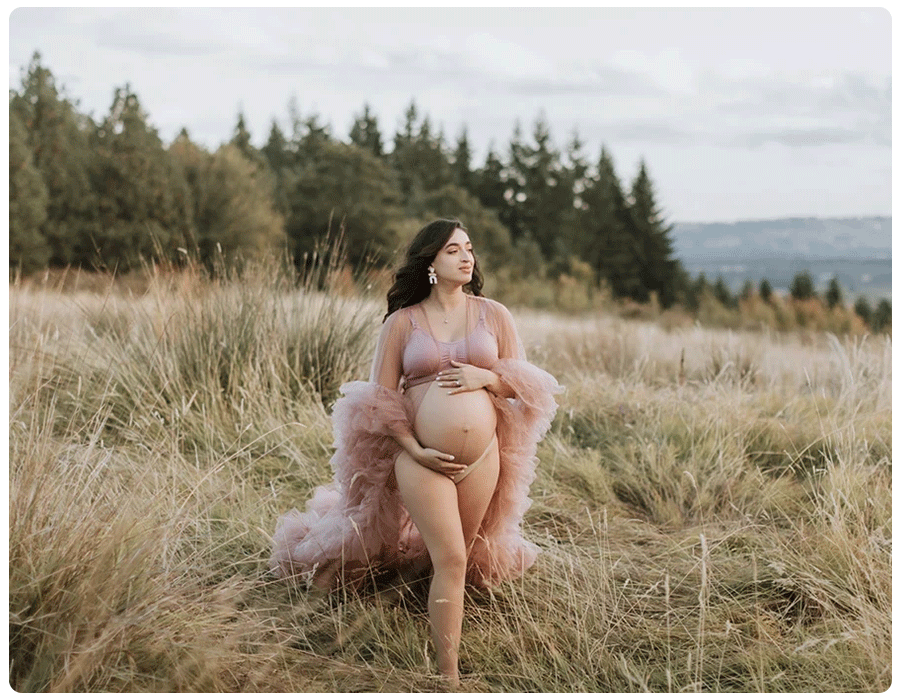
Boho maternity photoshoot
“Boho is a beautiful theme that can be done in a maternity dress or with more skin,” says Baker. “Being in Colorado, mountain maternity sessions are also very well-loved. Taking the beauty of the landscape and incorporating it with pregnancy is stunning.”
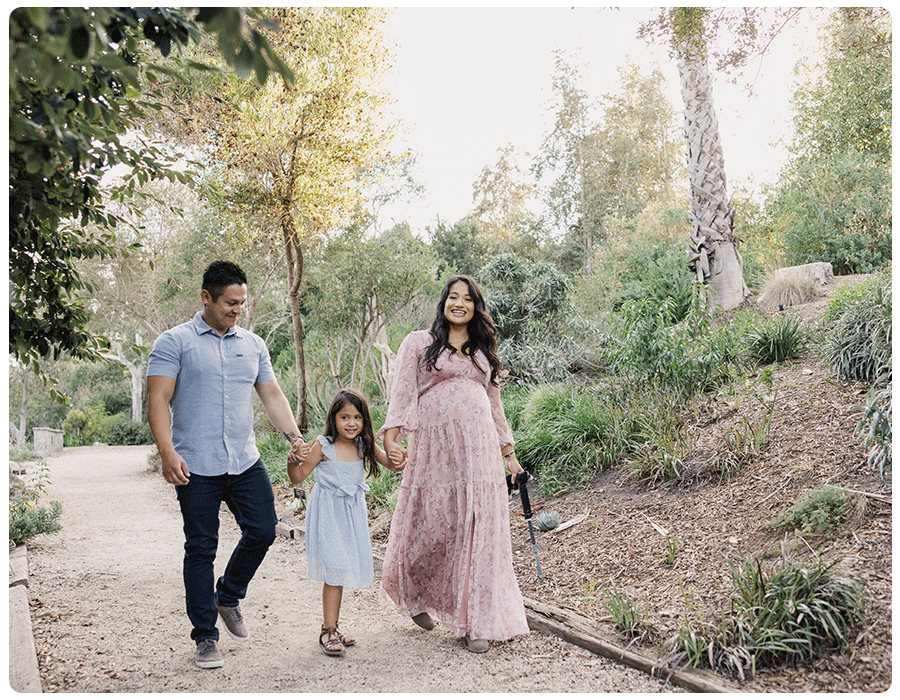
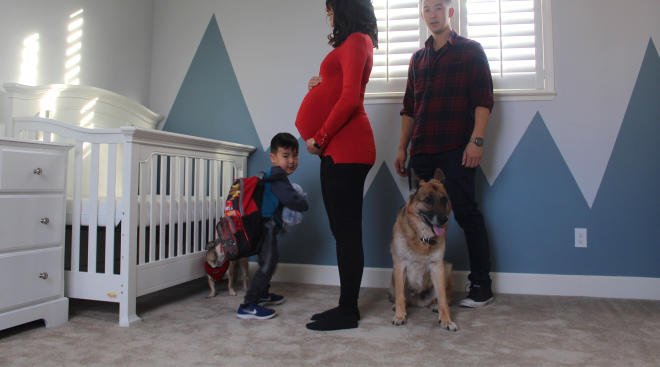
Family maternity photoshoot
A list of go-to maternity photo ideas isn’t complete without mentioning the need to get your older kiddos in front of the camera. After all, we’re guessing you’re not the only one who’s excited about meeting the new baby! Plus, you can use your pregnancy photoshoot to sneak in a family portrait.
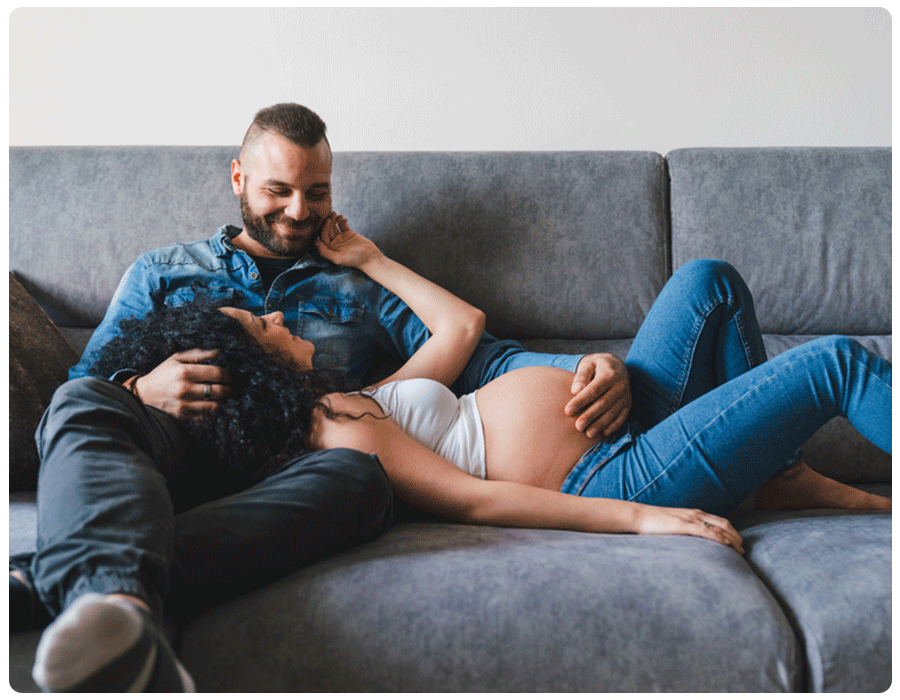
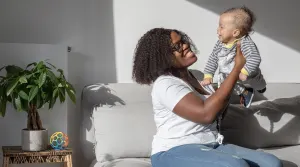
Maternity photoshoot at home
Snuggle up on the couch! Posed maternity photos can be super-glamorous, but for a more intimate feel, try setting up a pregnancy photoshoot on a comfy couch or bed. A casual, cozy setting for a family maternity photoshoot can be perfect for capturing those emotional moments.
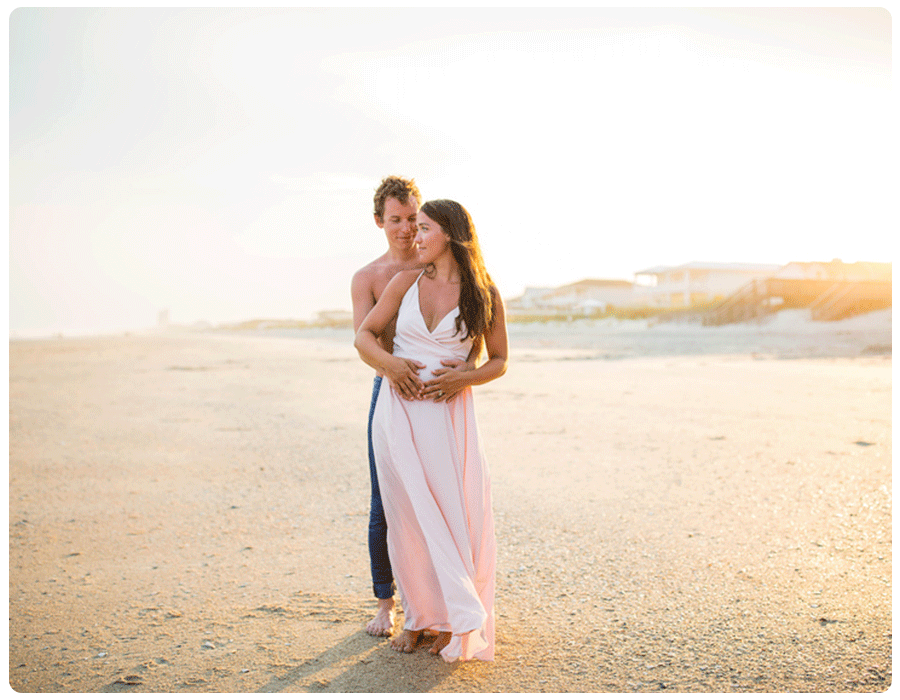
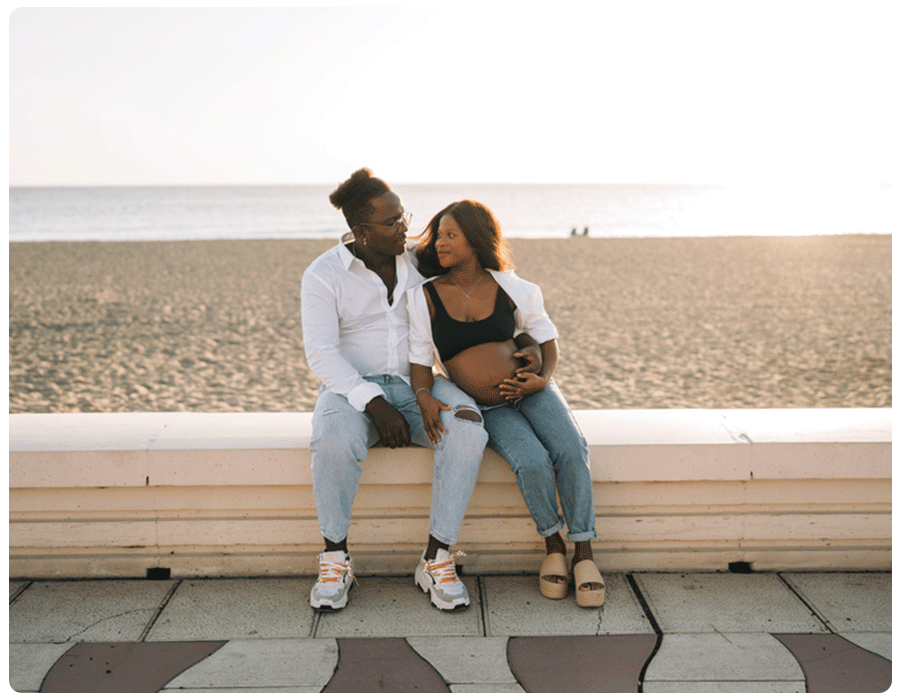
Beach maternity photoshoot
“I would say sunset maternity shoots are the most popular, and one of my favorite add-ons to the sunset beach session is ending up in the ocean,” says Erin Wallis, a photographer on Vancouver Island in British Columbia, Canada. “Living on Vancouver Island in Canada, we have a lot of water-loving mamas around here… I love ending their session in the ocean if they’re up for it.”
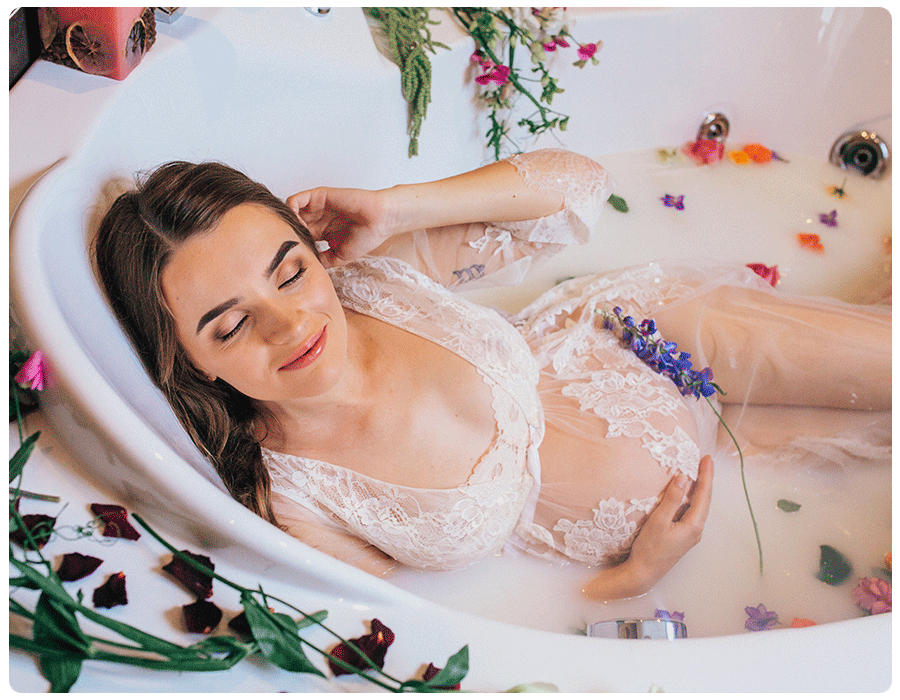
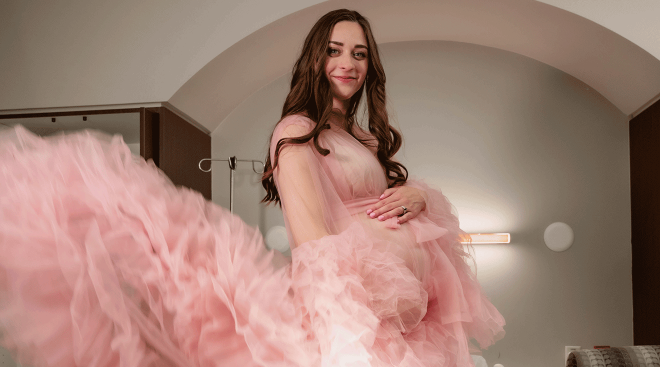
Milk bath maternity photoshoot
In search of unique indoor maternity photoshoot ideas? Scroll through your social media feed and you’re bound to find stunning images of women floating in milk baths, surrounded by delicate flower petals.
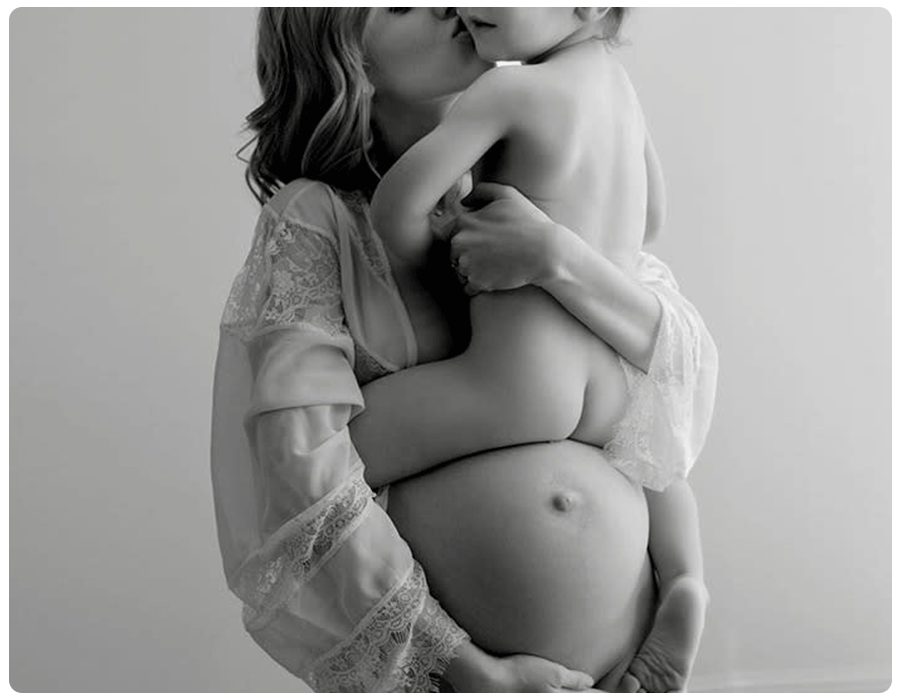
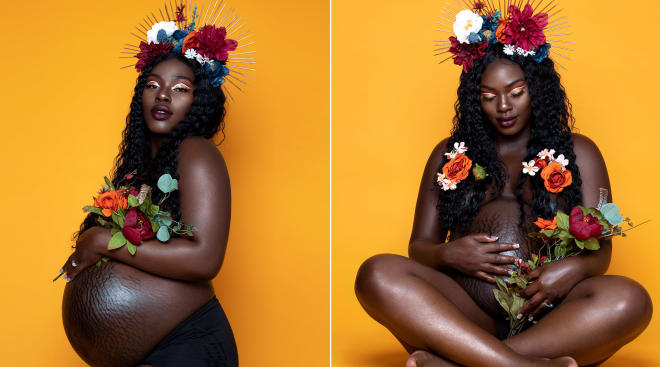
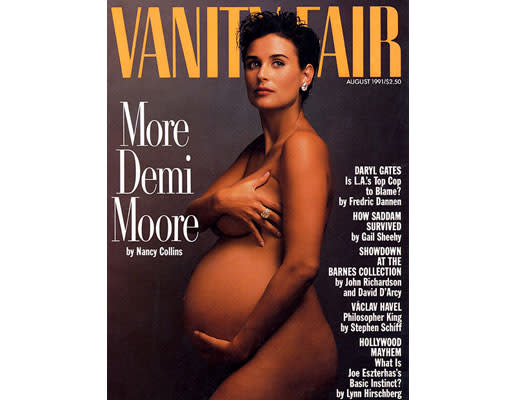
Nude maternity photoshoot
There are plenty of tasteful ways to celebrate the beauty of the human body. A lacy robe and a well-placed hand can go a long way. Printing your maternity pictures in grayscale can also lend an artistic air.
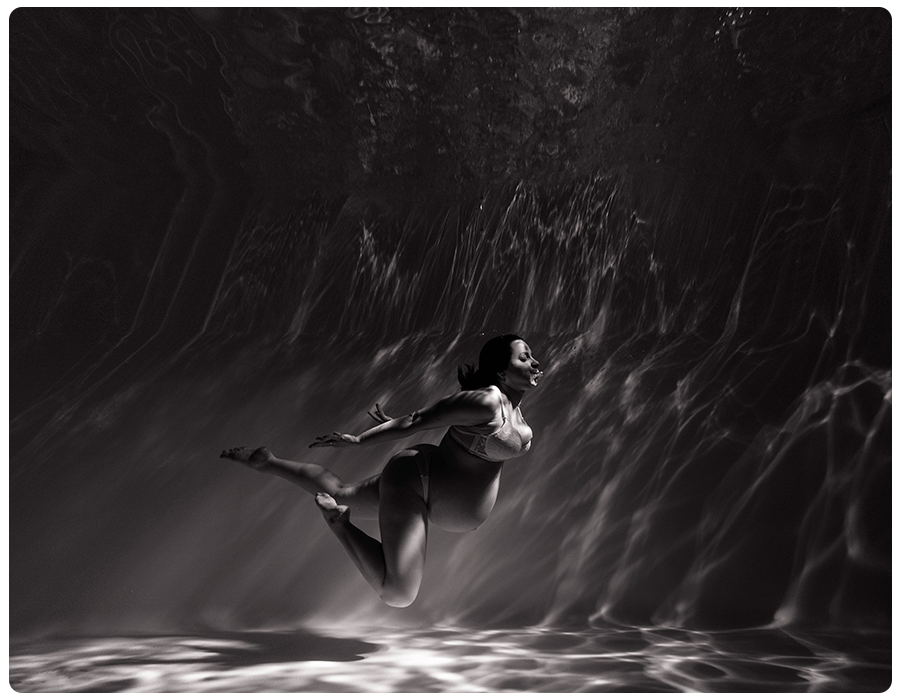
Underwater maternity photoshoot
Another popular maternity photoshoot trend that makes for some pretty unique images? Photographing your pregnant belly underwater. Kaitlyn Holeman, owner of Skyewater Photo + Film, an adventure-centric photography and videography team based in Washington and Colorado, has a few tips for an underwater maternity photoshoot:
- Keep it warm. “It’s important to keep the baby bump warm, so a private heated pool or other warm waters are really helpful,” says Holeman.
- Don’t get too close to your due date. “You’ll find that baby bumps are very buoyant, so it can be helpful to aim for a timeframe of about five to six months pregnant for your session date, versus closer to your due date when it can be harder for your body to submerge easily,” says Holeman.
- Make sure you’re comfortable underwater! It might sound obvious, but you should know swimming basics and how to hold your breath underwater. Take breaths as needed and have fun with it!
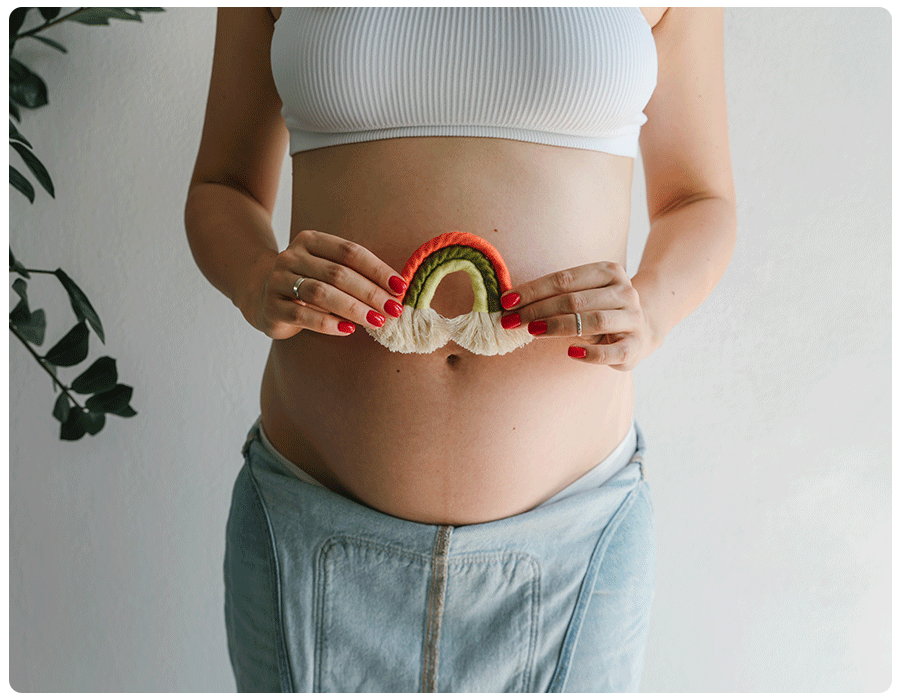
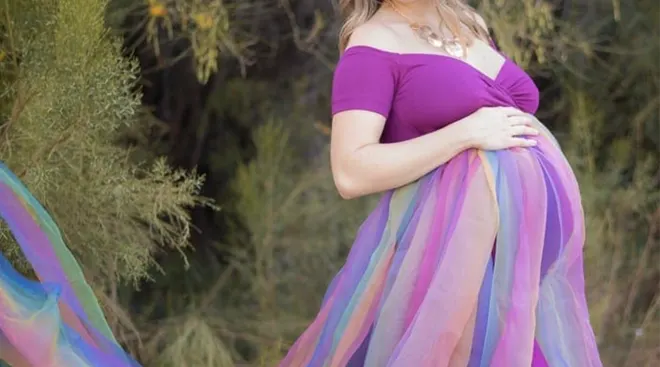
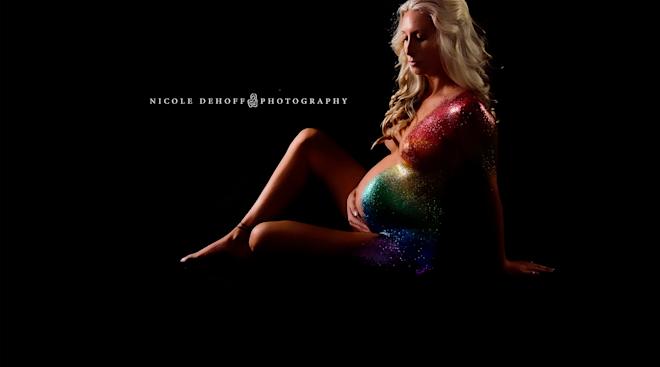
Rainbow maternity photoshoot
If you’ve experienced loss, consider a rainbow baby maternity photoshoot. You can use your maternity photos to both celebrate your sweet rainbow baby and pay homage to those children who never came to be. Colored smoke can make for a particularly striking background.
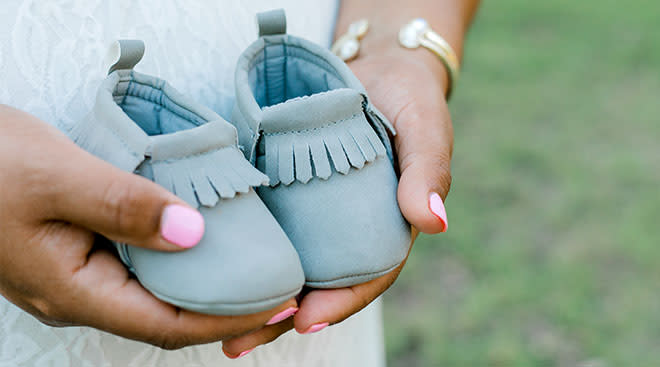
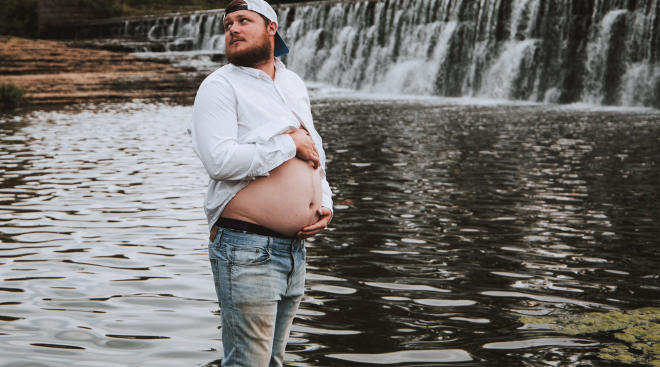
Surrogate maternity photoshoot
Just because you’re not pregnant yourself doesn’t mean you can’t revel in the excitement and beauty of maternity photos, as these amazing women prove.
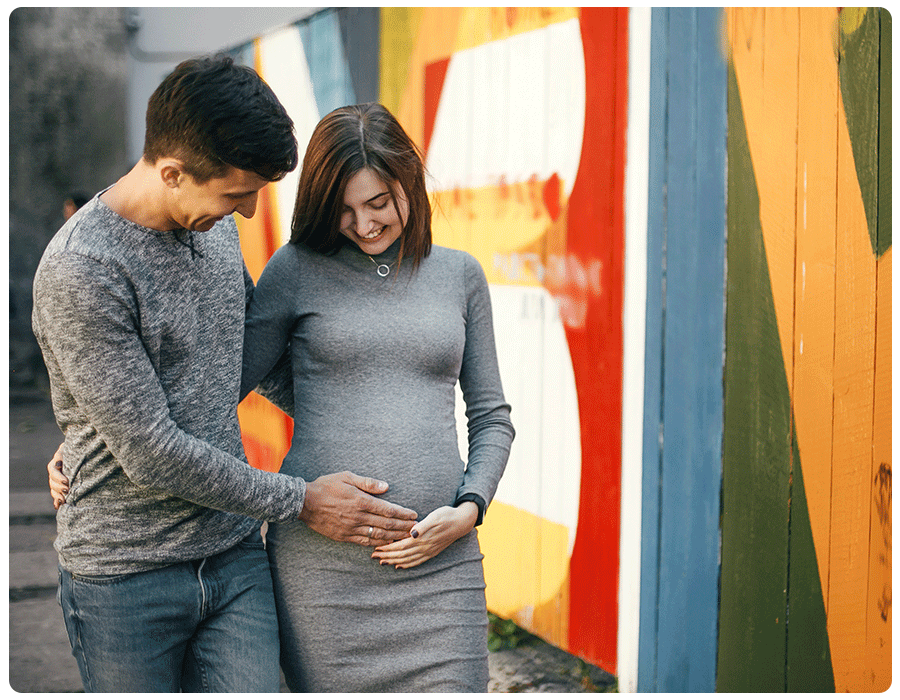
Street art maternity photoshoot
Scroll through Instagram and you’ll see tons of selfies taken against walls covered in bright urban murals and eye-catching street art. Why not use the idea for your outdoor maternity photoshoot?
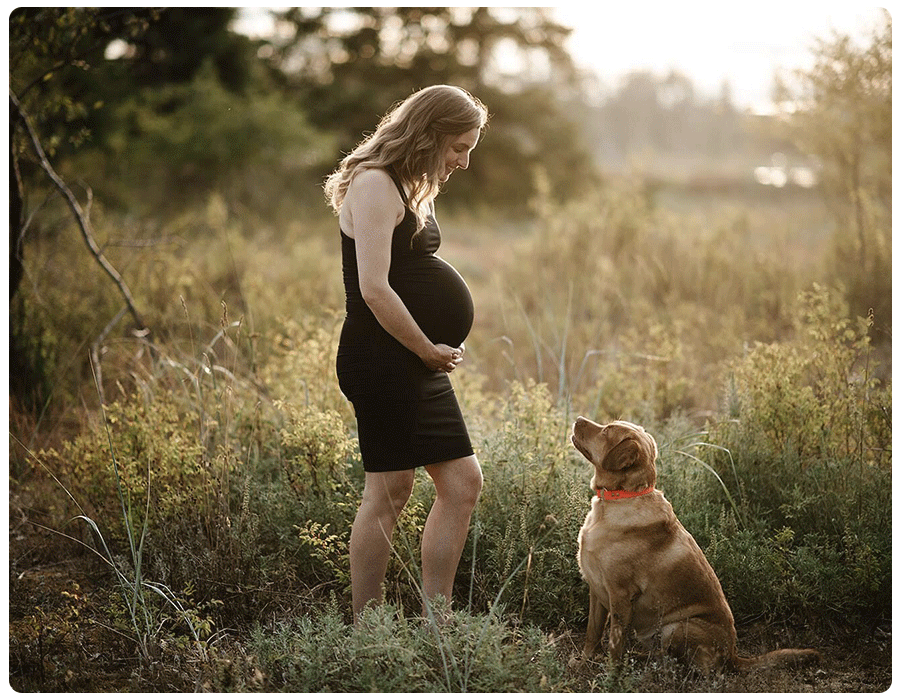
Maternity photoshoot with dog
If you count your pet as your first baby, why not include them in your outdoor maternity photoshoot for the ultimate “aw” factor?

Maternity photoshoot in snow
A winter pregnancy doesn’t mean an indoor maternity photoshoot is your only option. Bundle up and embrace the fresh air.
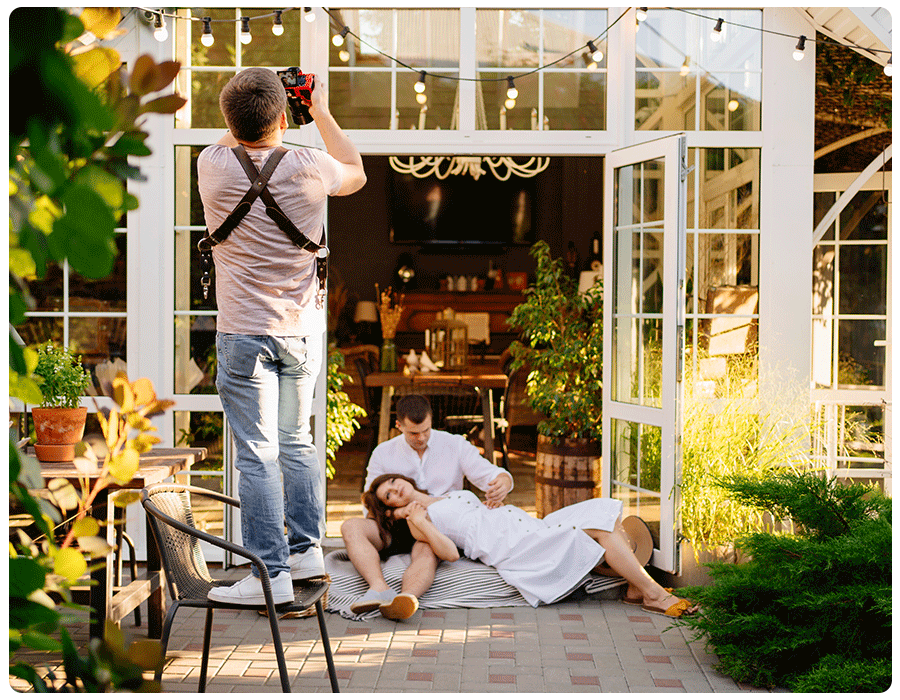
When picking a maternity photographer, above all, it’s important to find someone you’re comfortable with. “I think aside from your chosen photographer having a stunning portfolio, it’s invaluable for you to feel comfortable with them,” says Wallis. “One way to get to know them better is to follow them on social media for a while, watch any videos they have of themselves, what they say, post and repost. If they’re someone you cringe when watching, they’re not going to be your best fit. If you get emotional when seeing their photos or reading their words, they may be a great fit for you.”
Style is also a big consideration when choosing a maternity photographer. “What do you enjoy and envision for yourself during your shoot?” asks Baker. “Maybe you’re wanting a more artsy style, more skin, more neutral tones, more boho. Or maybe you want a more traditional style, with bold colors and a studio vibe!” Also make sure the photographer is well-versed in pregnancy photos. “Someone who’s amazing at weddings may not necessarily be the best at maternity,” notes Wallis. “Make sure you can see a few different examples and see yourself in their imagery.”
There are a few things to keep in mind when posing for your maternity pics. Here’s what the experts say:
- Go natural. “I think the best maternity photoshoot poses are the most natural ones,” says Wallis. “Growing babies is no joke, and such a sensitive and raw time in a woman’s life. I like to suggest clothing and situations that are most comfortable for my clients.” Adds Baker: “Just because it’s a photo session doesn’t mean every image has to be perfectly posed.” So don’t be afraid to take some candids—spontaneous is often better.
- Get on the move. “Movement is also great!” notes Baker. “Sway, walk, run your hand through your hair. Moving makes for beautiful, natural images.” Be sure to photograph your bump from different angles too: Your body undergoes remarkable changes during pregnancy, and you want to show off those incredible curves.
- Find your inspiration. “I always ask my clients for examples of my work or poses they’ve seen so I can get a vibe for what my clients’ vision is for their shoot,” says Baker. “I have plenty of go-to poses for maternity sessions. I use a lot of verbal prompts as well to get more natural and relaxed body movement.” Checking blogs and social media for inspiration can also help, adds Steve Cowell, a photographer in Costa Mesa, California.
- Make sure you’re comfortable. Don’t choose maternity poses that force you into uncomfortable or unnatural positions. “I … often avoid sitting shots unless the mother is comfortable and still able to handle sitting poses like sitting with legs criss-cross or a more lounging-type pose,” says Cowell. “This is a conversation to have between client and photographer of what poses are comfortable during their term of the pregnancy.”
- When in doubt, go with a classic. “You’re always going to see the stomach ‘cradle’ hold with both hands underneath the bump,” says Cowell. There’s a reason the classics are popular!
The ideal time to schedule a pregnancy photoshoot is generally sometime between 30 and 34 weeks, so you can show off that adorable baby bump, says Baker. Plus, you’ll be able to check it off the list before you become too uncomfortable to sit through any kind of photo session. Cowell agrees: “You want their baby bump to have popped enough to show up in photos, but you want the mom to still be mobile and comfortable enough so they aren’t miserable walking around or moving for the camera.”
Lighting can make or break your maternity photos, so schedule your outdoor maternity photoshoot at an optimal time of day. Photographers love shooting at what they call the “golden hour”—shortly after sunrise or just before sunset—to capture those soft golden hues. “I really enjoy the emotion of the orange tones of the setting sun,” says Baker. “Backlighting is beautiful at this time, but so is shooting into the harsh light. This time also leads into blue hour, which is a stunning time … after the sun has just set.”
However, if you’re doing an indoor maternity photoshoot the timing considerations are different. “I tend to pick late morning or noon to ensure the most natural light finds its way to the indoor space,” says Cowell.
Whatever maternity photoshoot style you choose, remember that the end goal is to capture you at a special and pivotal moment in your life—and your love for your future child. “As a photographer, my goal in these shoots is to try and communicate not only the beauty of these women who are carrying life—a miracle in and of itself—but also their fierce love for this unborn human,” says Cowell.
Plus, more from The Bump:
Navigate forward to interact with the calendar and select a date. Press the question mark key to get the keyboard shortcuts for changing dates.